Converting Audio

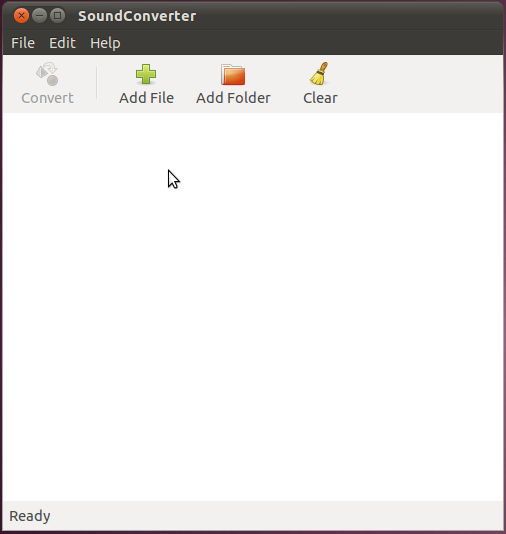
Converting audio in Ubuntu is extremely easy.  First, download a sample audio clip, which is encoded in the uncompressed WAV format.  Next, open the sound converter application.
SoundConverter.png

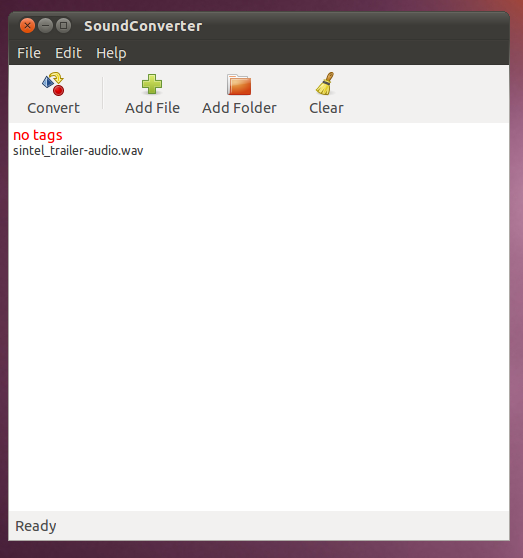
Then lets open the file we downloaded in Sound Converter.
SoundConverter-example.png

Sound converter is an application that will let you convert one audio format to another one.  You can load in a single file, or many different files that can all be converted at the same time.  To select the type of format you want to convert to and other details, use the prefrences menu (Edit -> Preferences).

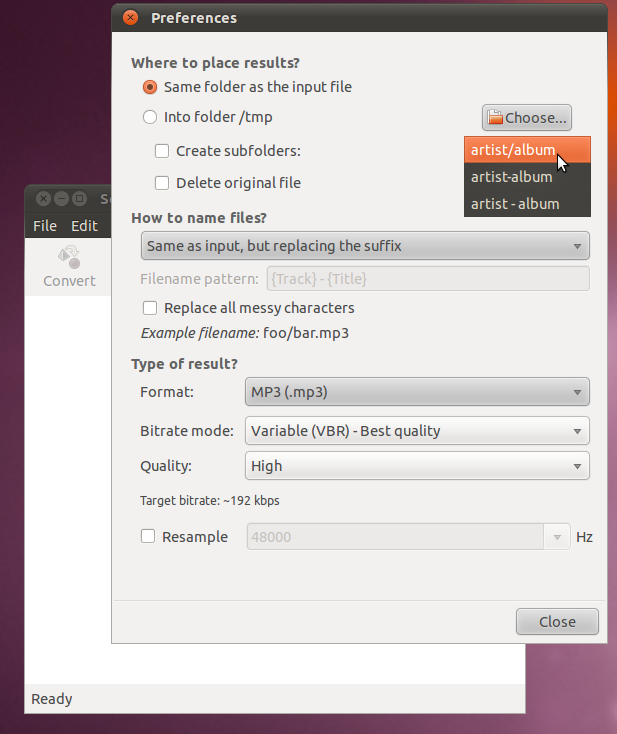
The first item in the preferences menu is the option to change where the converted files are placed.  For a single file such as this, it is probably easiest to simply have the output go to the same directory.  However, if you were going to convert your whole music library at once, you may want to utilize this option to help you sort it.
SoundConverter-folder.png

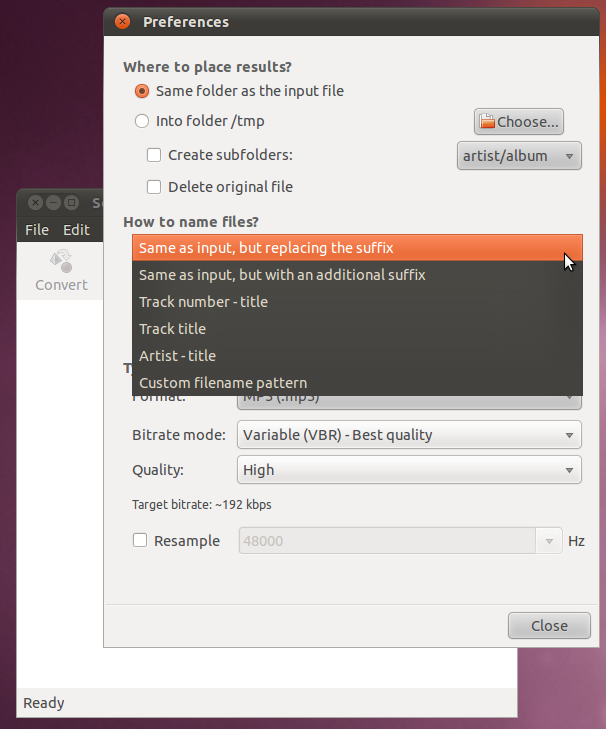
Naming files is similar.  For a single file that we need in a different format, just change the suffix (from .wav to something else: .flac, .ogg, .mp3).  If you were doing a lot of files, you might want to utilize these options.
SoundConverter-filename.png

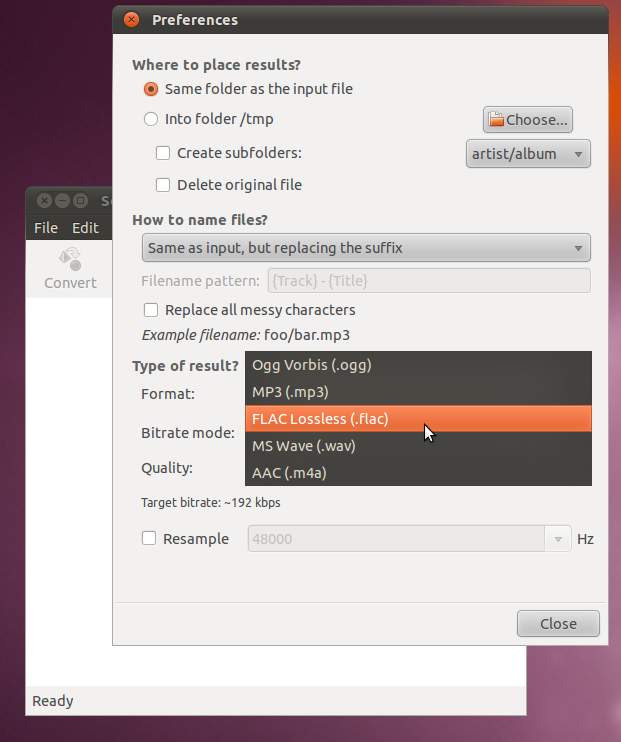
The next option is the format.  We're going to convert this into FLAC, OGG-Vorbis, and MP3 formats.  It is already a WAV so no need to do that, and with the above formats, we don't really have a need for AAC.
SoundConverter-type.png

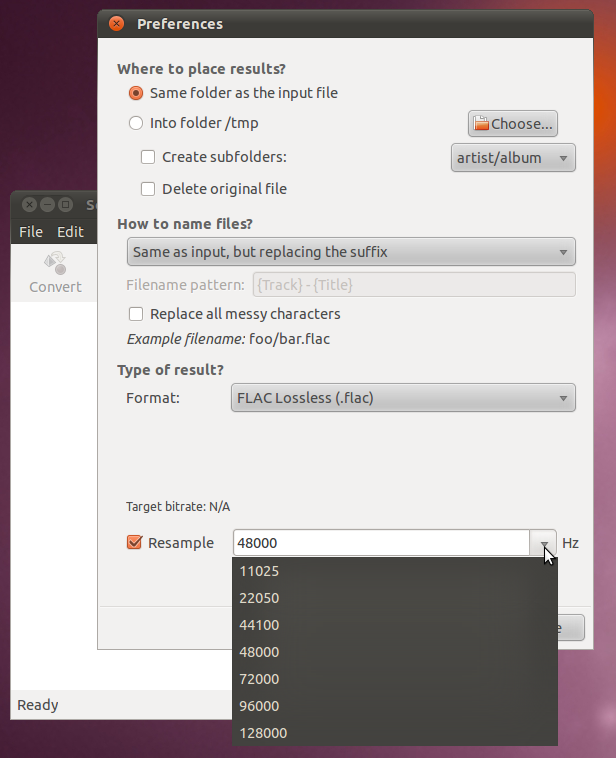
The final option is the ability to re-sample to a different frequency.  You generally wouldn't want a slower frequency, as the audio could sound worse.  It also doesn't help much to copy the file up to a higher frequency, since it can't really make up extra data.  The only real reason to change it would be if you have a bunch of files at different rates that you need to join together.  In that case you could convert them all to the highest rate (so none of them would be cut down).
SoundConverter-resample.png


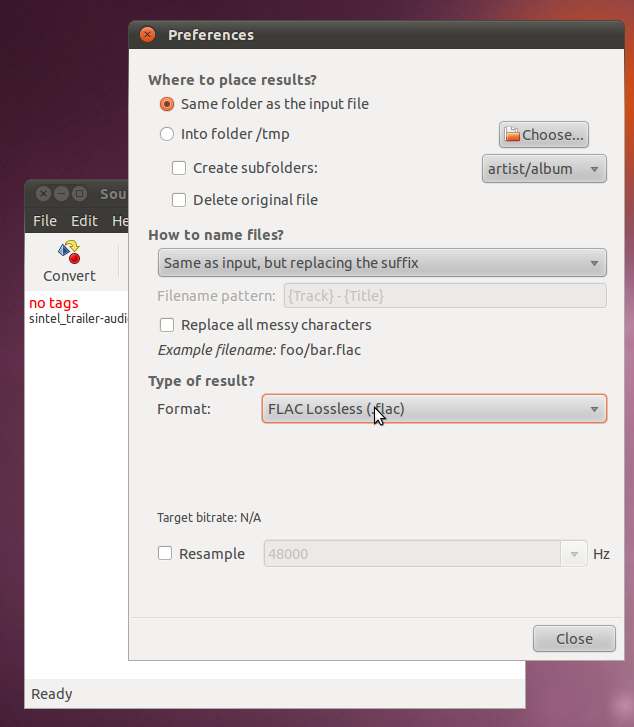
For our first conversion, go ahead and select FLAC (Free Lossless Audio Codec).
SoundConverter-flac.png

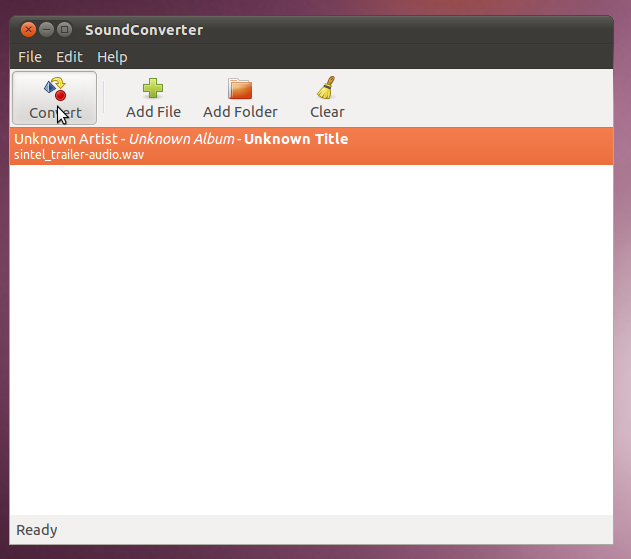
Then close the preferences dialog and click "Convert". 
SoundConverter-convert.png

After a couple seconds it should finish, and you're new .flac file will be out right next to the .wav file you started with.

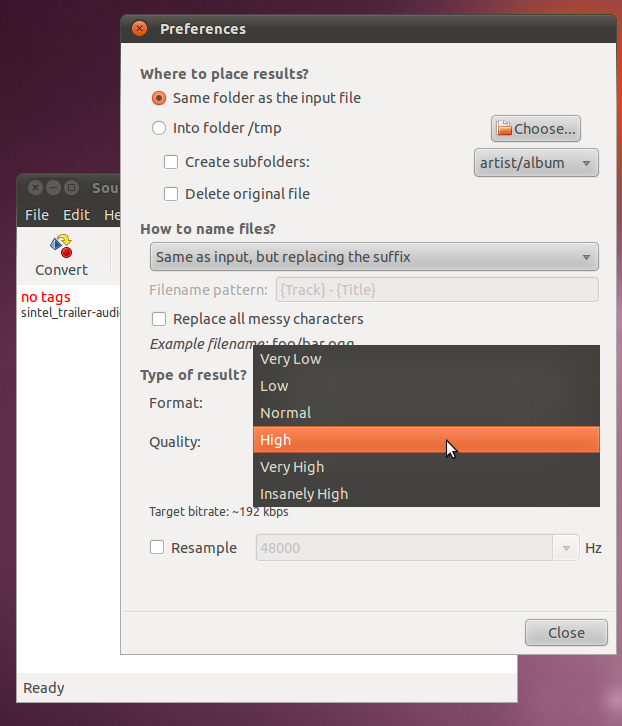
Next lets go and make a file in the Ogg-Vorbis format.  Go back into the Preferences dialog and select the Ogg Vorbis format.  Under this format there is a new option that wasn't there for the FLAC option, that is the Quality option. 
SoundConverter-oggQuality.png

There are several different pre-set values for quality (this program won't let you dictate your own).  Each of these corresponds with a bit-rate that the encoder will try to compress the audio stream down to.  It is important to understand that this is seperate from the frequency and bit-depth that are paramaters in the uncompressed PCM recording, those paramaters won't be changed.  This simply tells the encoder how agressive to be when running the lossy compression.  The FLAC format didn't have this because it is lossless, every FLAC conversion is perfect.

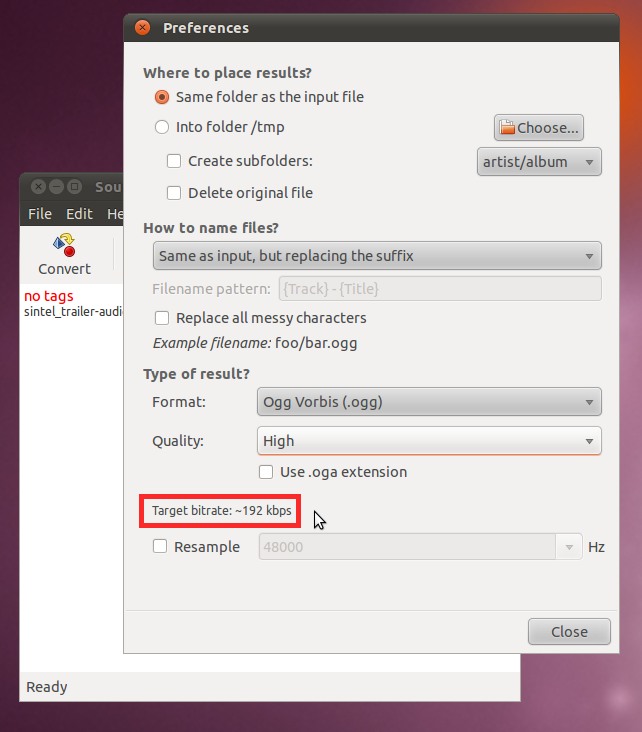
For OGG files 192kbps (kilo bits per second) is usually considered so good that the human ear can't tell the difference for most sounds.  This rate corresponds with the "High" quality setting.  If bandwidth or storage space are a concern for you (they usually aren't in this day and age), then you could lower it to normal or low and get a much smaller file, but it might not sound as good.

So using the "High" quality setting, lets run this conversion.
SoundConverter-ogg.png

The next conversion is to the, very common, MP3 format. 
SoundConverter-mp3Bitrate.png
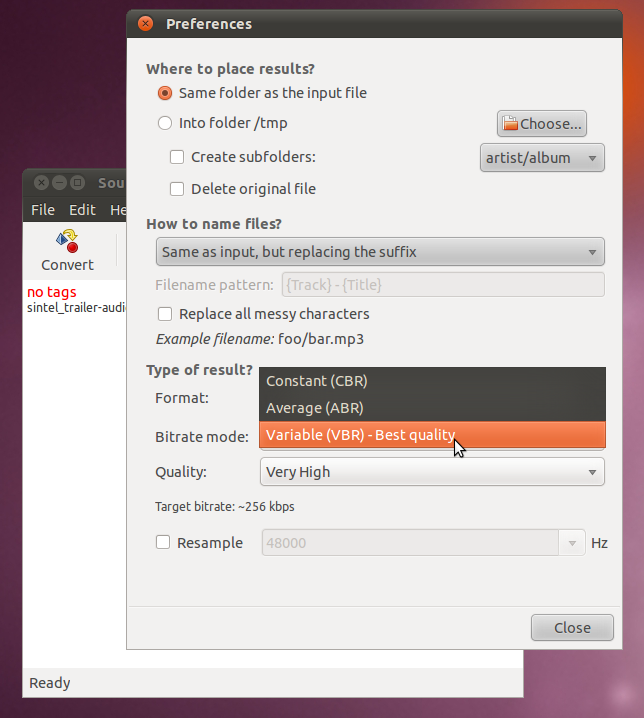
MP3 has an additional setting that OGG doesn't have here, the ability to change how the bitrate is applied to the stream of data.  There are three options here, but we will only focus on two (with the user of CBR adn VBR, there isn't a need for using Average Bitrate). 

Variable Bit Rate (VBR) is great because it allows the encoder for the format to lower the bitrate in portions of the recording where there isn't as much important (and hard to compress) data and then raise it in other portions where a higher bitrate would help to keep the original sound intact.  In the end it will end up with approximately the same size file as if it wasn't using VBR, but the audio will be better.  (http://en.wikipedia.org/wiki/Variable_bitrate http://es.wikipedia.org/wiki/Tasa_de_bits_variable)

Constant Bit Rate (CBR) is what you have when you don't use VBR to encode the audio.  Every single part of the recording uses the exact same bitrate.  If you can do it VBR will always give you a better resulting sound, but some older devices won't work with VBR, so you'd need to encode with CBR for them. (http://en.wikipedia.org/wiki/Constant_bitrate http://es.wikipedia.org/wiki/Tasa_de_bits_constante)

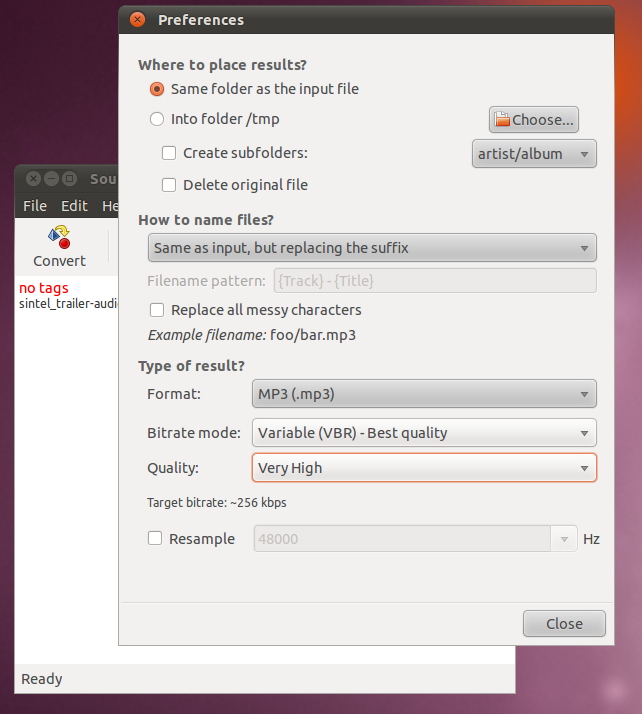
Since the MP3 format isn't as good at compressing the audio as Ogg Vorbis (or WMA or AAC for that matter), we need to use a bitrate of 256kbps to get to the point where the human ear can't tell the difference with uncompressed audio.  This can be selected with the "Very High" quality setting.

SoundConverter-mp3.png
No go ahead and run the final conversion and you'll have succesfully made your conversion to all the major formats.

Just to show the differences between encoding types and bitrates, I've created the following chart.  Go ahead and download the samples and see if you can tell the difference between them.

Encoding Type
Bitrate
File Size
% of original
Link
WAV
1.4mbps
9.5 MB
100%
sintel_trailer-audio.wav
FLAC
(700kbps)
4.5 MB
47%
sintel_trailer-audio.flac
OGG Vorbis
64kbps
380 KB
4.0%
sintel_trailer-audio-64k.ogg
OGG Vorbis 96kbps
568 KB
6.0%
sintel_trailer-audio-96k.ogg
OGG Vorbis 128kbps
722 KB
7.6%
sintel_trailer-audio-128k.ogg
OGG Vorbis 192kbps
1.1 MB
12%
sintel_trailer-audio-192k.ogg
OGG Vorbis 256kbps
1.5 MB
16%
sintel_trailer-audio-256k.ogg
OGG Vorbis 500kbps
2.7 MB
28%
sintel_trailer-audio-500k.ogg
MP3 - CBR
64kbps
408 KB
4.3%
sintel_trailer-audio-64k-CBR.mp3
MP3 - CBR 96kbps
611 KB
6.4%
sintel_trailer-audio-96k-CBR.mp3
MP3 - CBR 128kbps
814 KB
8.6%
sintel_trailer-audio-128k-CBR.mp3
MP3 - CBR 192kbps
1.2 MB
13%
sintel_trailer-audio-192k-CBR.mp3
MP3 - CBR 256kbps
1.6 MB
17%
sintel_trailer-audio-256k-CBR.mp3
MP3 - CBR 320kbps
2.0 MB
21%
sintel_trailer-audio-320k-CBR.mp3
MP3 - VBR
64kbps
680 KB
7.2%
sintel_trailer-audio-64k-VBR.mp3
MP3 - VBR 96kbps
793 KB
8.3%
sintel_trailer-audio-96k-VBR.mp3
MP3 - VBR 128kbps
899 KB
9.5%
sintel_trailer-audio-128k-VBR.mp3
MP3 - VBR 192kbps
1.0 MB
11%
sintel_trailer-audio-192k-VBR.mp3
MP3 - VBR 256kbps
1.2 MB
13%
sintel_trailer-audio-256k-VBR.mp3
MP3 - VBR 320kbps
1.3 MB
14%
sintel_trailer-audio-320k-VBR.mp3


Bonus #1 - Rip a CD with Sound Juicer

From the early 1990's until about five years ago, the CD was by far the most popular way to store and move audio recordings.  Because of this many people have large collections of CDs that they wish to convert to FLAC, Ogg, or MP3 format for use on portable audio devices (iPod, Mp3 player, cell phone, etc.).  There is a tool in ubuntu that makes this very easy, Sound Juicer, also know in ubuntu as Audio CD Extractor. 

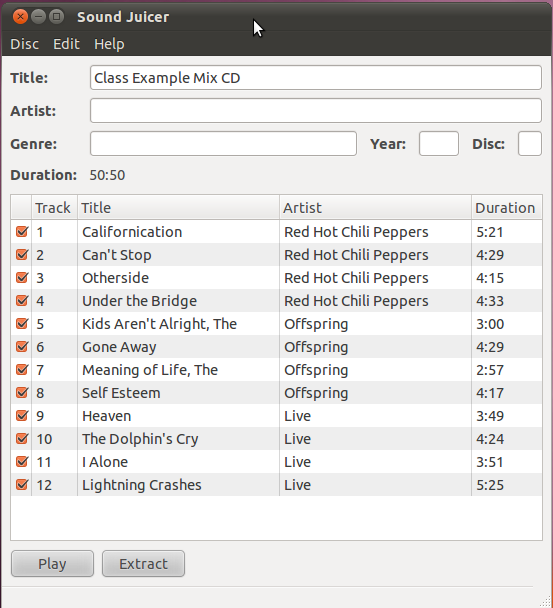
Once you have the program open, it should automatically detect your CD and read the information such as title and author, as well as the name of each track and the artist who produced it.  If you wish to change any of the header information, just edit it.  For the track information, double click on it to edit it.  This information is what is used to determine the folder structure and file names.
SoundJuicer-Contents.png

To set some of the details on how the CD will be extracted, open the Preferences dialogue (Edit -> Preferences). 
SoundJuicer-Preferences.png
There are four important items to set here.  The first is the root folder that everything should be extracted to.  This is not where the final audio file will go (that comes next), but will contain other folders. 

The next item is the folder hierarchy.  How you set this depends greatly on how you organize you audio recording collection on the computer.  Many people will have a folder for each artist, and then folders inside that for each album by the artist. 

Next is the name of the file that will be written for each track.  Once again this depends greatly on how your recordings are organized. 

Finally is the format that the files will be written to.  I strongly recommend using FLAC for everything you extract from a CD.  This will ensure that you don't lose any audio quality with a lossy format, but isn't as large as a WAV file.  If you want to copy this audio to a portable device, you can simply use the Sound Converter from the last section to create a copy.  That way you can alwasy store the original, lossless copy on your computer if you ever want a better version in the future.

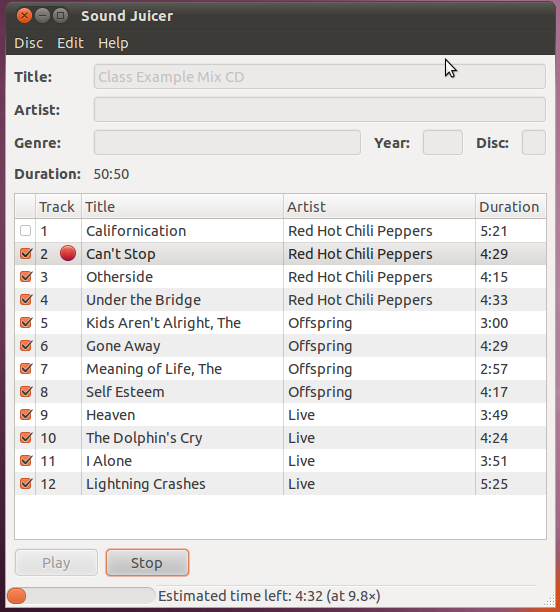
Once you have all the settings figured out, go ahead and hit the Extract button on the main window.  You will see the extraction status on the bottom, and next to each track as it is extracted. 
SoundJuicer-Progress.png
While the extraction is taking place, go and look at where the music is being written to on your hard disk.  If you didn't get the folders or filenames right, stop the extraction, delete the files that have been extracted so far, then go back to the preferences and fix it. 

Congratualtions you're well on your way to having your music collection available on your computer!

Bonus #2 - Create an Audio CD with Brasero

Every now and then you may need to play an audio recording in an old-style CD player.  Some of the newer types of CD players will be smart enough to read MP3s that you have copied to a CD, but most can't do that.  Instead you need to create a CD with the Audio CD format.  Most CD buring applications will have a tool that can do this for you.  Brasero is one that handles everything from converting your files (in various formats) to the Audio CD format and burn it to a CD all in one step. 

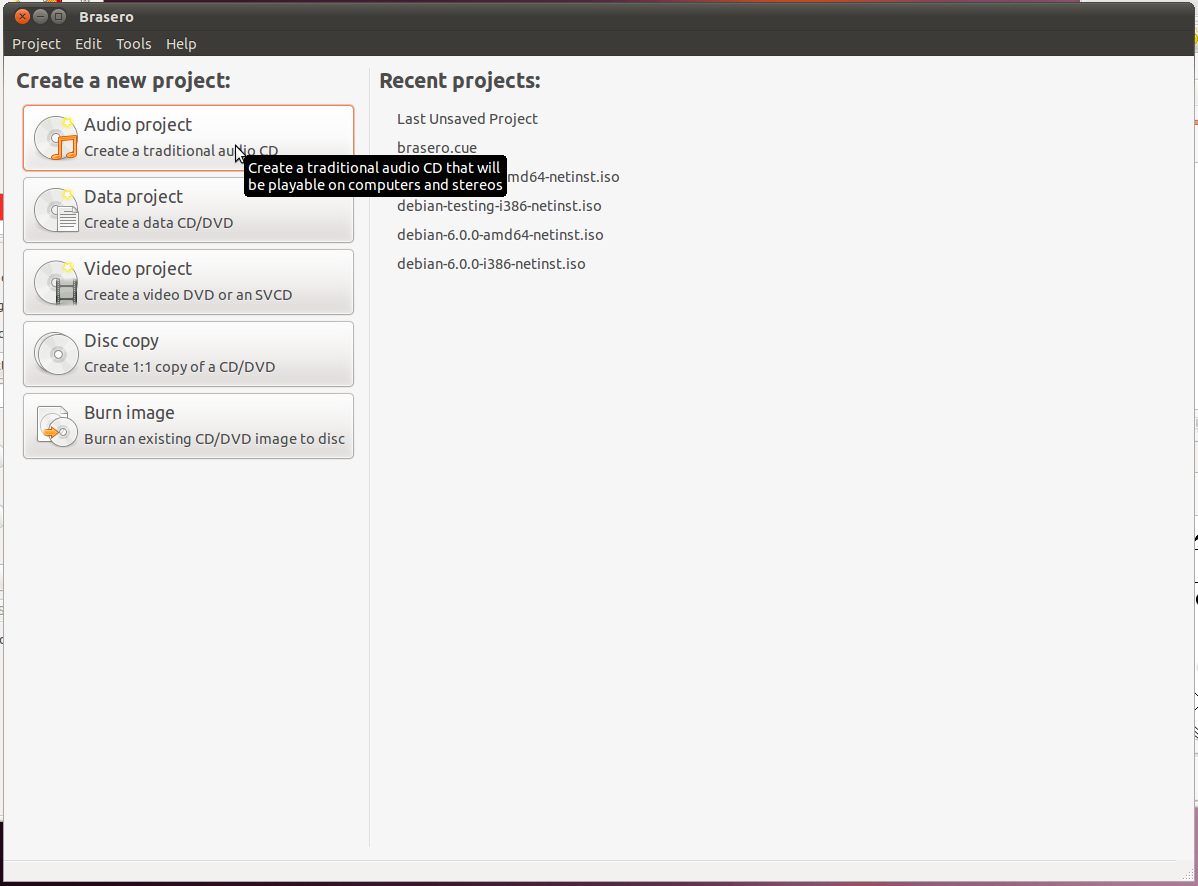
Simply open Brasero and select "Audio project, Create a traditional audio CD".
Brasero-Project.png

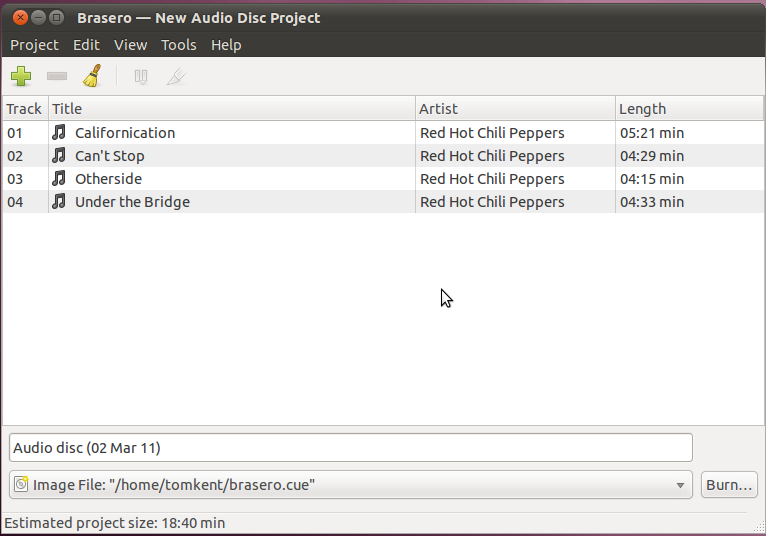
Then you can click the add button, or simply drag the recordings you want into the window.
Brasero-Import.png

You can also drag them around in the window to change the order of the recordings to suit whatever you would like.
Brasero-Move.png

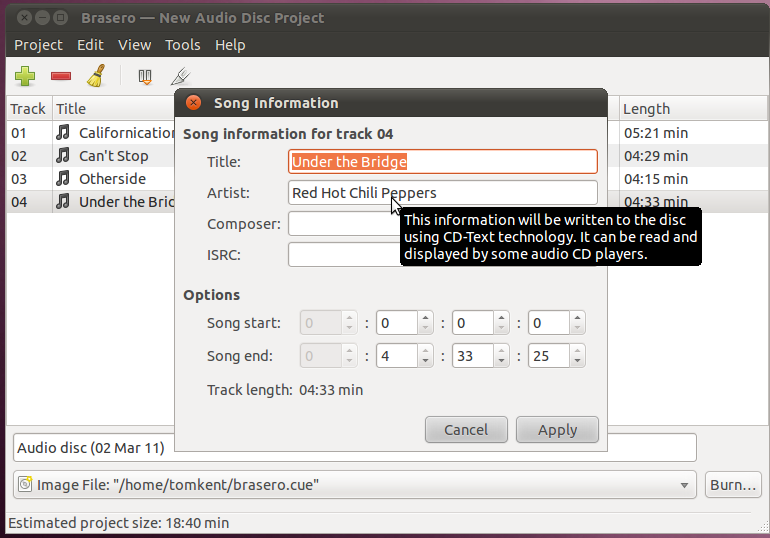
If there isn't adequate information for the recording title or artist, click on the recording and select "Edit Information", then enter the correct data.
Brasero-Information.png

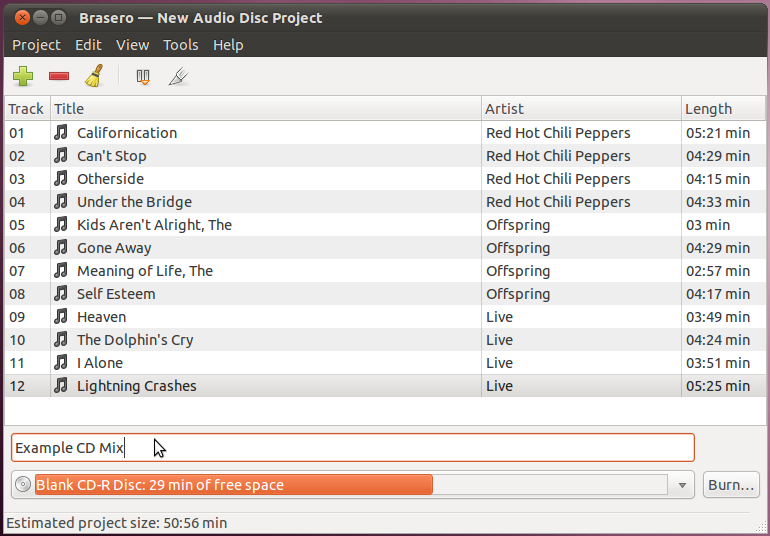
Finally, you can set the title for the whole CD in the box at the bottom.  Notice the status window below that, which shows how many more minutes of audio you can add to this CD before it is full.
Brasero-Title.png

When you have everything you want on the CD, in the correct order, and with the correct information; go ahead and click the "Burn..." button.

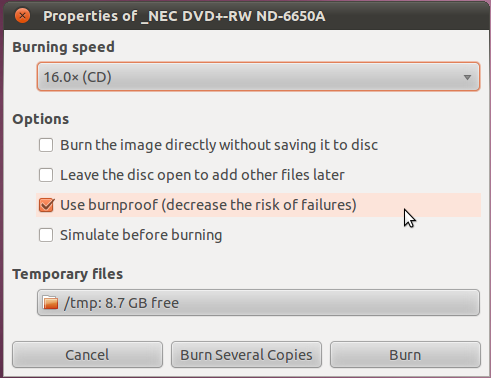
That will bring up a dialog where you can set your CD buring preferences.
Brasero-Burn.png

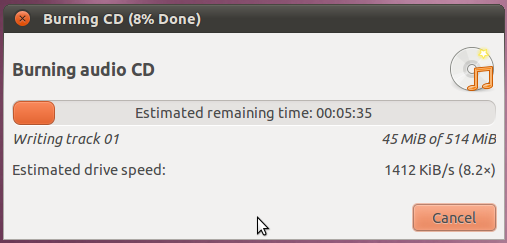
Click burn and Brasero will start converting your recordings to the Audio CD format, then it will start writing them to the CD.
Brasero-Status.png

Once that completes, the disc should eject itself, and you have a brand new CD ready for use in an CD player.