Illustrator
Just as Photoshop has much in common with the GIMP, Illustrator has
much in common with Inkscape. There are a few things that work
better in one or the other, but all the important features are very
similar.
Unlike Photoshop, you do not right-click on the items in the toolbox
(the ones with a small triangle in the lower right corner) to pop up
the other tools. Instead, you left click and hold down.
After enough time passes, the other tool options will come up.
Lines
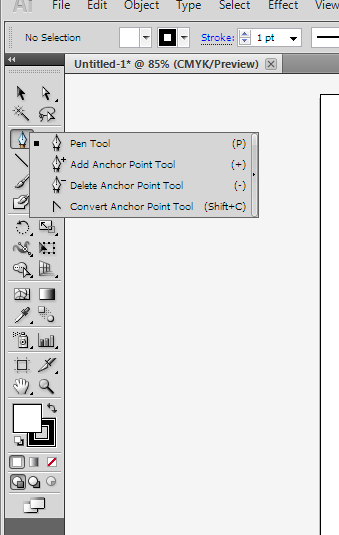
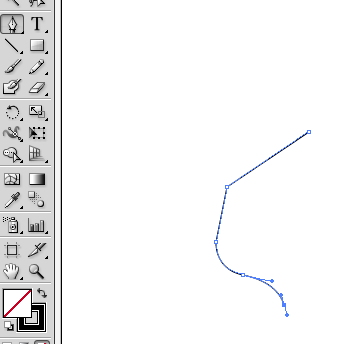
The Pen tool works exactly the same as Inkscape's Bezier tool.
When you click at a new point it makes a strait line, if you then drag
it will manipulate the handles to curve it.
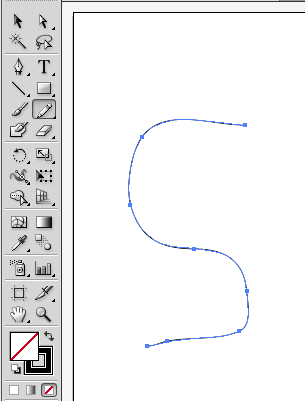
The pencil tool is also similar to the freehand lines too, in that you
just click and hold the mouse, and the line follows it wherever it
goes. However, the one in Illustrator is somewhat different
because it will automatically make the line into a bezier curve by
adding all the necessary nodes and putting their handles at the correct
settings.
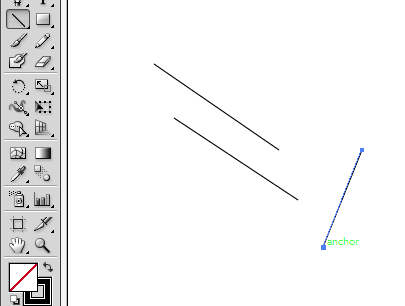
What the pencil tool doesn't do however, is make strait lines. In
Inkscape you can use it by clicking in one point (and letting go of the
mouse button), then going to a different point on the screen and click
again. Inkscape with create one solid, strait line between
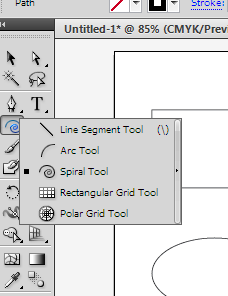
them. To do this in Illustrator you need to use the line segment
tool. With the line segment tool, you click your start location
and hold the mouse button down while you move to the finish location.
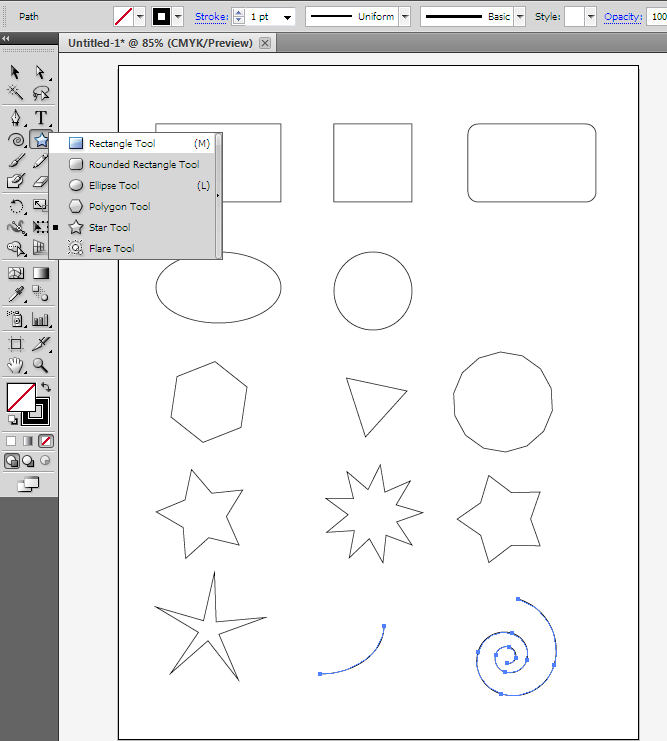
Shapes
Illustrator has the same standard shapes (Rectangle, Ellipse, Polygon,
Star, Spiral) as Inkscape. The only real differences is that to
get a square with rounded edges you use a separate tool, also for the
arc you use a separate arc tool instead of just making a segment of an
ellipse.
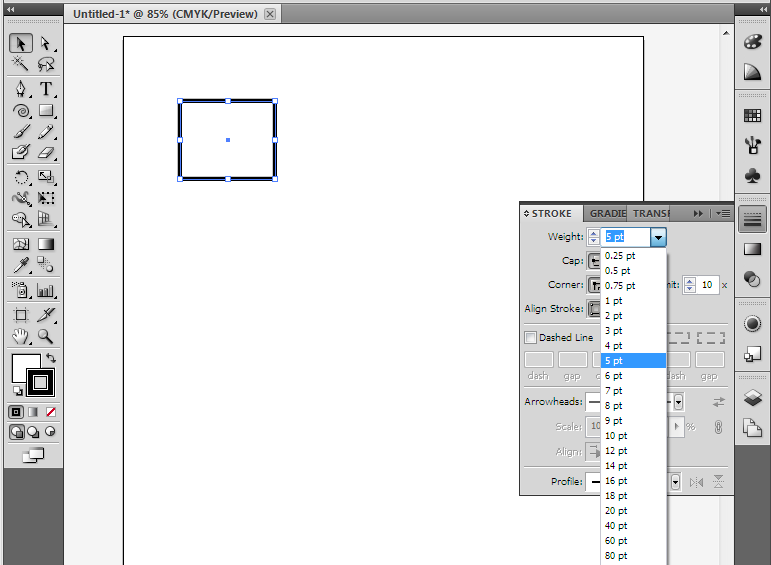
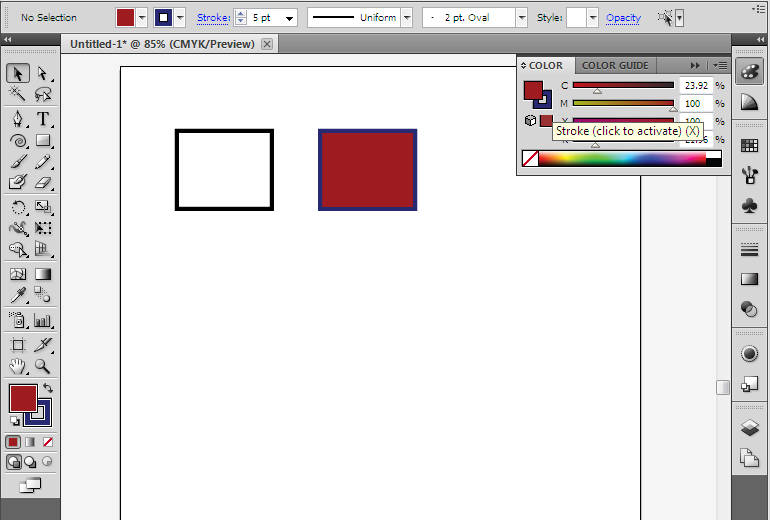
Stroke and Fill
The concepts behind stroke and fill in Illustrator are the same as in
Inkscape, however, here the tools are somewhat different.
Here we have the stroke dialog open, and are changing its thickness.
To quickly change the fill (or the color of the stroke) you can click
on the color chooser in the toolbox and it will open the colors dialog.
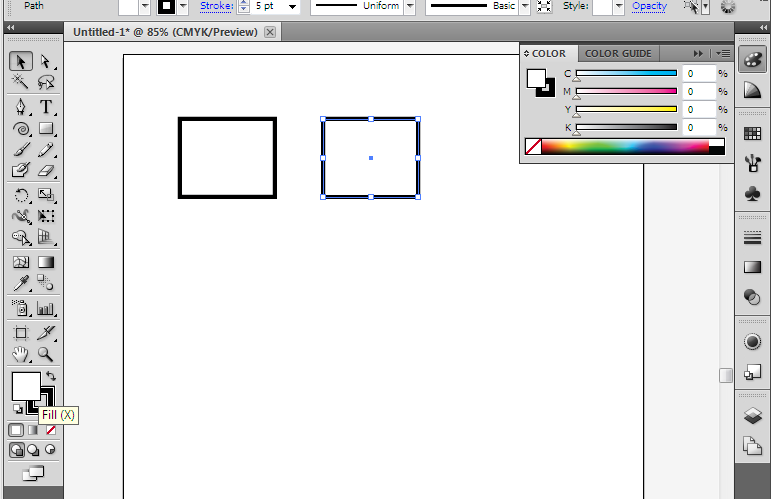
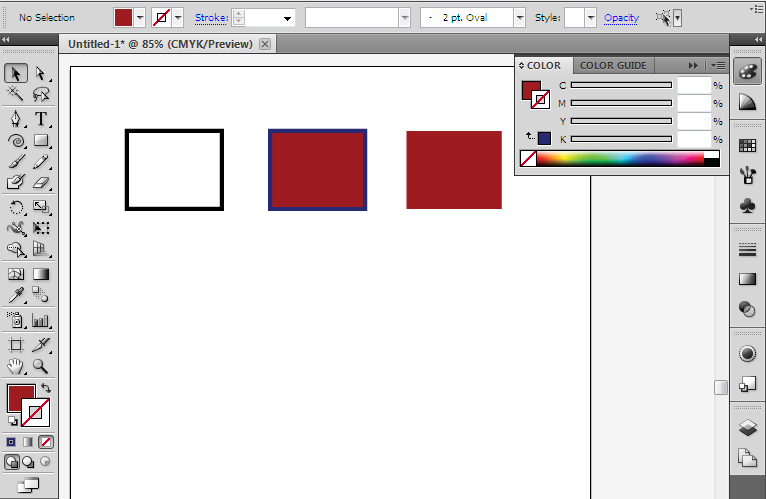
You can switch back and fourth from fill to stroke by clicking the two
overlapping boxes. Then pick the color for each.
If you don't want to have a fill or stroke, select the white space with
the red, diagonal line through it. This indicates none.
Just like with the GIMP and Photoshop, you will find that Inkscape and
Illustrator have a ton in common, and you can easily apply your
Inkscape skills if you ever have to sit down and work at a computer
with only Illustrator. (or you could just install Inkscape!)