Minor Corrections
For our final section on photo editing using the GIMP we will look
at a couple tools that allow us to correct minor issues with the image
or even the person being photographed. Some of these are: areas
of shadow, pixel noise, blemishes, wrinkles, and more.
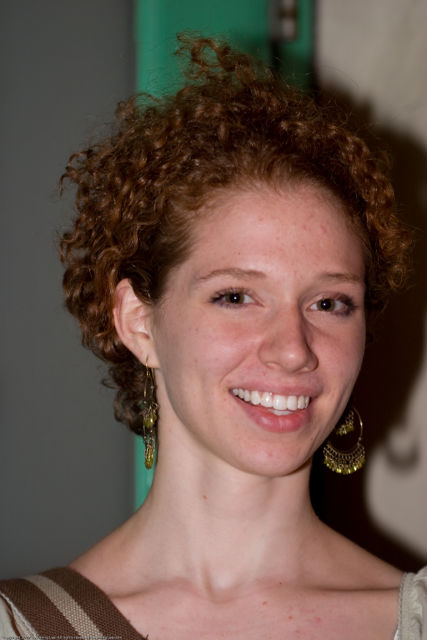
Let's get started by opening up a picture of a subject with a few minor
imperfections.
Subject
Now that we have that open let's create a new layer, identical to
the
background layer. This way, when we make changes in the new
layer, we can quickly go back to the original by just clicking the eye
in front of the new layer to hide it. To make the new layer, just
right click on the "Background" layer and select "Duplicate
Layer". This will create an identical copy of the original for
you to work with.
Now we will meet the first of our tools, the Heal tool.
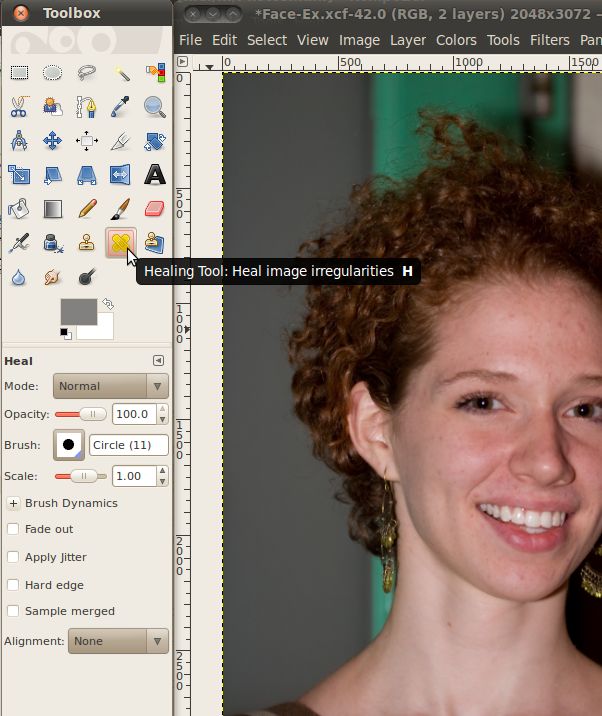
The heal tool allows you to choose one spot (by holding down Ctrl while
you click that spot) then copy that spot to a new area (the size and
shape of the spot will vary depending on the brush you have
selected). When it puts that spot in the new area, it will
mathematically merge the new spot with what was already there.
This is great for getting rid of imperfections in a way the
incorporates the existing background, so it looks natural.
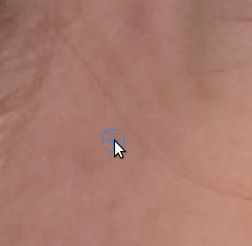
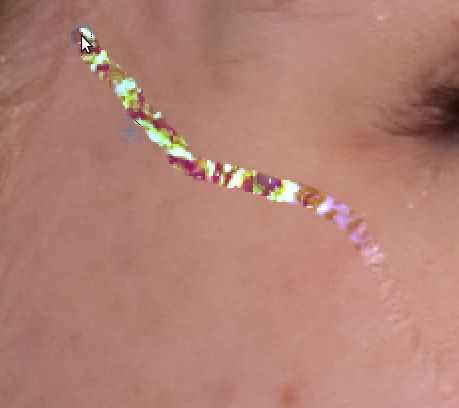
If you zoom in to the cheek below the subjects left eye, you will
see that there is an errant hair running across her face. Let's
do
a Ctrl+Click just below this hair to select a part of the cheek that is
a good match for what we want there.
Once we have the source selected, we just need to go up and click on
a spot on the hair. Once that spot is done, you can move to the
next spot and click again. You may need to make sure your brush
size is large enough to see it working. It should be at least 10
for this, I have found that circle 13 works well.
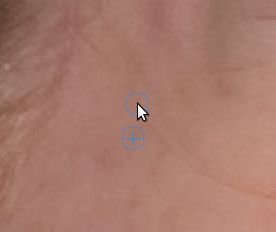
If you look at the above image, you can see the area above and left
of the cursor has had this applied to it, and the hair is gone!
Now we just need to keep doing this to the rest of the unsightly hair.
It is probably easier to click and drag across a good section of the
hair than to go through the whole thing clicking, but beware, as you
move the mouse your selection spot will move in the same direction that
the mouse moves as long as the button is held down. When you let
go, the selection spot will re-set to the original. If you picked
a spot close to the hair, for example just below where you first click
it, then you should be alright because the selection will just follow
the mouse and keep getting the area right below the hair, which is
fairly similar. However, if you had a selection near the top (to
the left of the eye) and started at the bottom and worked your way up,
your selection would soon end up in her hair, and then instead of
making the hair disappear it would make all sorts of new problems show
up in that spot.
The best thing to do is to drag the mouse in such a way that the
selection follows very close to the mouse, then you keep the same
general color and lighting conditions from that part of the face.
However, if this isn't feasible, it is possible to hold the selection
position fixed so it won't move. Simply select "Fixed" from the
alignment drop down box in the Heal tool properties dialog.
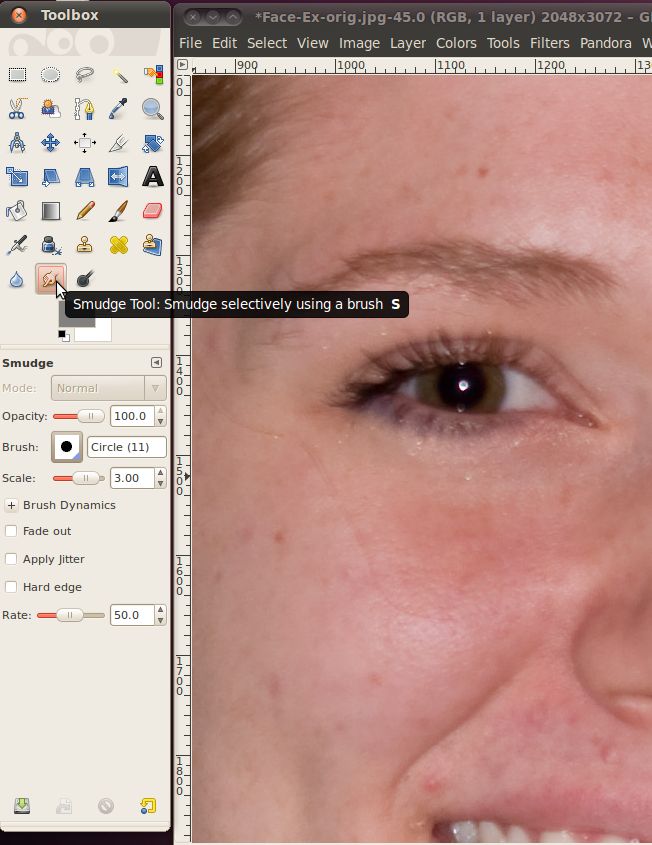
The next tool we will use to fix up this image is the smudge
tool. Let's select it from the toolbox.
The smudge tool will take the colors from one area and as you drag your
mouse move some of that color into the area you are dragging too.
It is very similar to if the picture were made of wet paint and your
ran your finger across it.
Here's a blunt example of smudge at work.
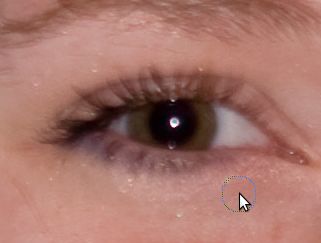
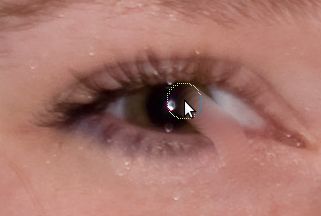
As you can see, the smudge took can really alter an area
drastically. However, this is not what we will use it for.
Instead, when you use the smudge tool, be sure not to accidentally run
over areas of the picture that are borders between important
areas. If you do slip and smudge somewhere you didn't mean to,
you can always undo the last smudge by using the Ctrl+Z key combination.
Let's go down to the subjects chin and use the smudge tool to remove
a blemish there.
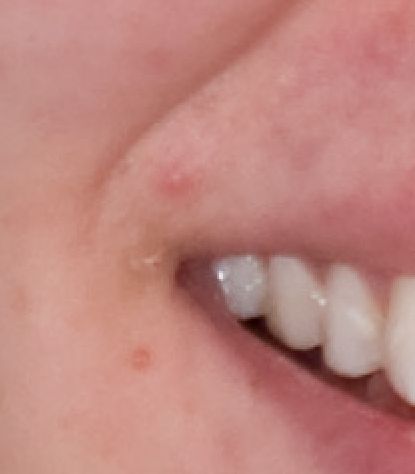
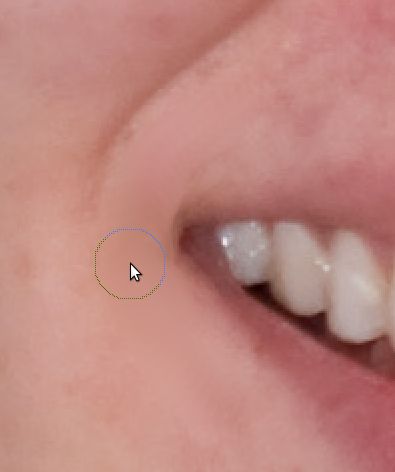
To remove these blemishes, I simply took my brush and moved down from
the top to the bottom, then went back up from the bottom to the top to
even things out. I was careful not to get it into the mouth, or
into the ridge just above and to the left of the area in
question.
One other thing to try, if you still want it to blend in better, you
can try using one of the fuzzy brushes instead of a plain circle.
A fuzzy brush is one where when you click to apply it, the edges are
not strong and the effect of the bush action fades out over several
pixels. This is different from clicking with the circle brush
where one pixel is completely affected and the pixel next to it is
un-affected. This way, the edges of the smudge will be almost
untouched. It isn't as strong as a circle brush though, so you
may have to go over the area more than once.
The final tool we will work with today doesn't actually change the
color of anything, but simply lightens or darkens it. This is
called the Dodge/Burn tool. In photo editing, to dodge something
means to make that area lighter, and to burn it means to make it
darker.
Let's go ahead and select that tool. Also, if you haven't already
done so, go ahead and select a fuzzy brush. When you use the
Dodge/Burn tool you will see a very distinct line where the pixels
brighten or darken if you use a circle brush. Also, I would
recommend lowering the exposure down to something low (in the 10-15
range) for beginners. This just means that everywhere you move
the cursor will only be lightened a little. This will make things
go slower, as you'll have to drag the cursor over an area more than
once, but it gives you more control as to how quickly parts of the
image change.

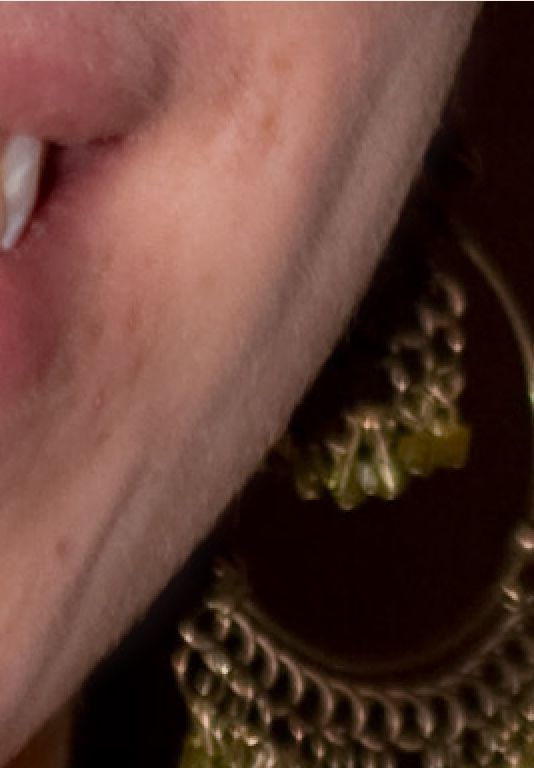
Once you're all set with the tool, let's zoom in on the right side of
the face. When this picture was taken, the light source was off
to the left, so the right side of the face has some shadow on it.
That's not always a bad thing, but in this case we will try to correct
it.
We're just going to drag the mouse cursor over the dark area,
Especially moving up and down through the two shaded
depressions.

Looking good so far. Now take an opportunity to go around the
image and use these three tools to clean up the rest of it. You
may end up with something like this:
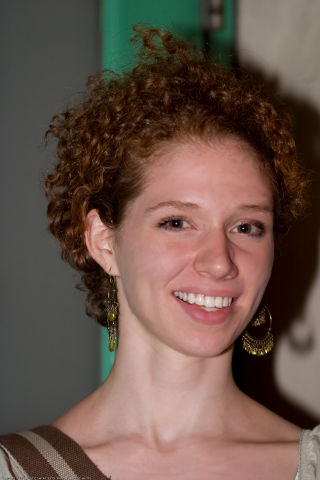
Attribution
Curly Hair Girl, See-Ming Lee, http://www.flickr.com/photos/seeminglee/870001120/,
CC-BY-SA
Blue Eyed Girl, See-Ming Lee, http://www.flickr.com/photos/seeminglee/870028244/,
CC-BY-SA
Circle Glasses Guy, See-Ming Lee, http://www.flickr.com/photos/seeminglee/870005490/,
CC-BY-SA
Dark Skinned Guy, See-Ming Lee, http://www.flickr.com/photos/seeminglee/869124633/,
CC-BY-SA
